
How cute is my new dalmatian wall?! I’m literally in LOVE! Before I moved into mine and Robin’s first home I did A LOT of research for home inspiration on Pinterest. One thing I kept finding myself attracted to was the dalmatian print, so I knew I just had to inject it into my house somehow.
When we moved into our house I really thought Robin and I would be so on it with decorating and DIY, but we’re one of those couples who starts and job and never finishes it, or never gets round to it at all… However, I had a day spare a few months back and I thought you know what, I’m going to do it! We’d originally had a huge table in our dining room, but it took up the whole space. I really wanted to make the room a bit more spacious so we decided to move a few things about and make a few naughty purchases. That was when I decided to add in the dalmatian print.
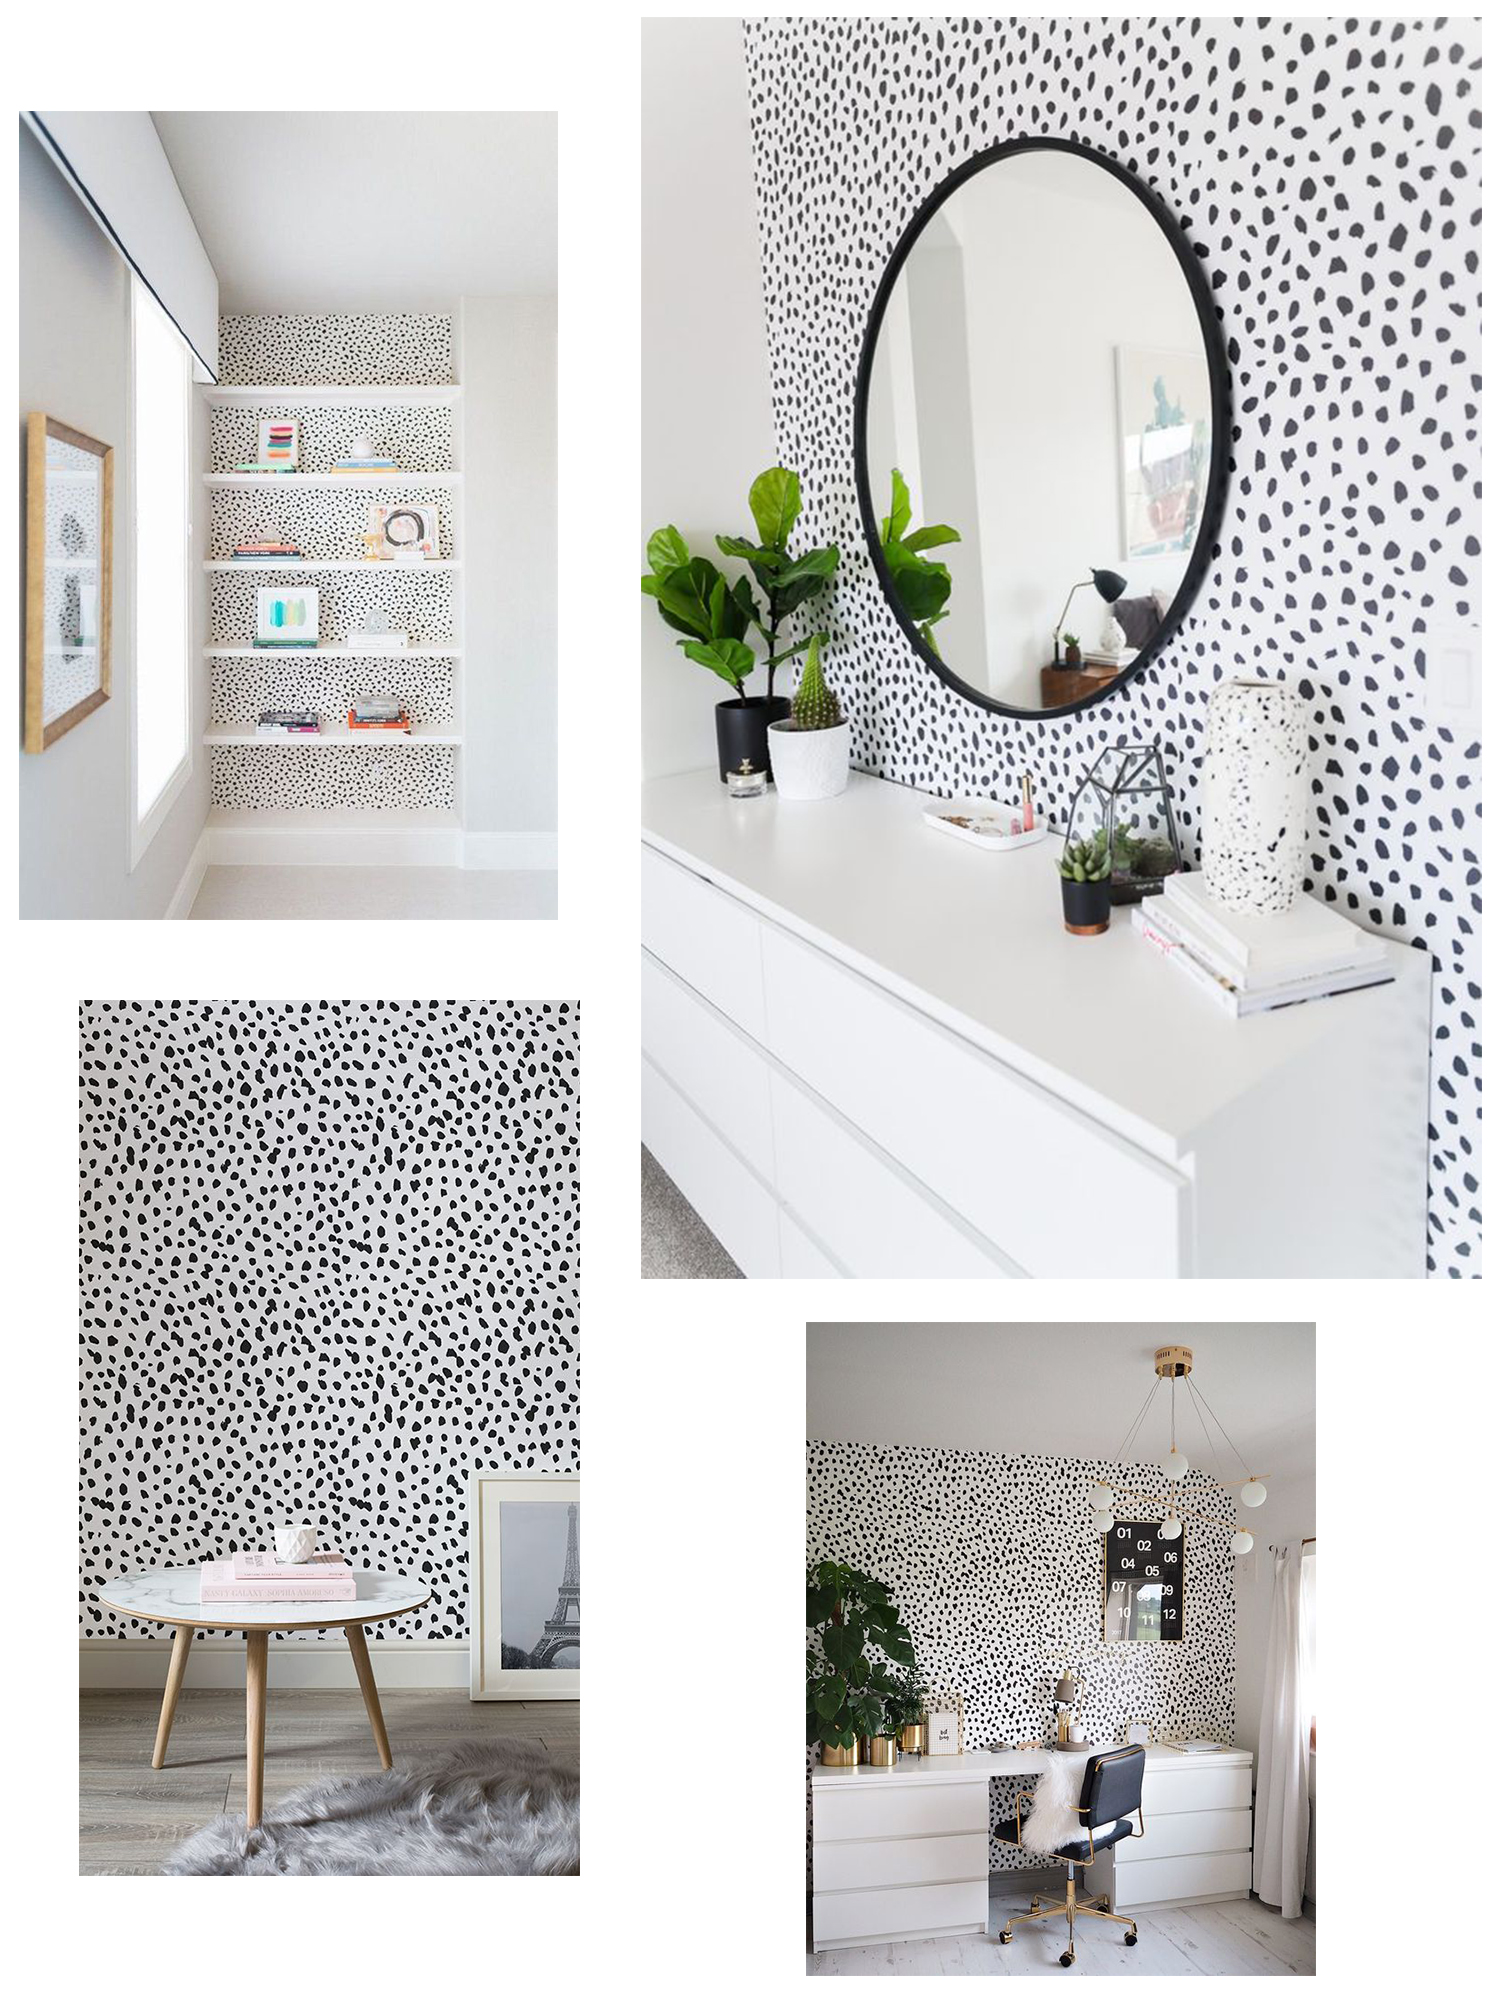
I searched online for dalmatian wallpaper as I assumed that was the most straightforward way of achieving what I wanted. However after a few hours I realised it was going to be SO expensive. I’d never even looked at wallpaper before, but bloody hell?! I only wanted a few strips for one small wall and it was pricing up at around £400! Imagine wallpapering a whole room?! So instead I looked into other options and I stumbled upon stencils. I came across an Etsy shop that sold a dalmatian stencil for around £50 I think and I thought you know what, I’ll give it a go! It was literally the only way I was going to get the dalmatian print on my wall.
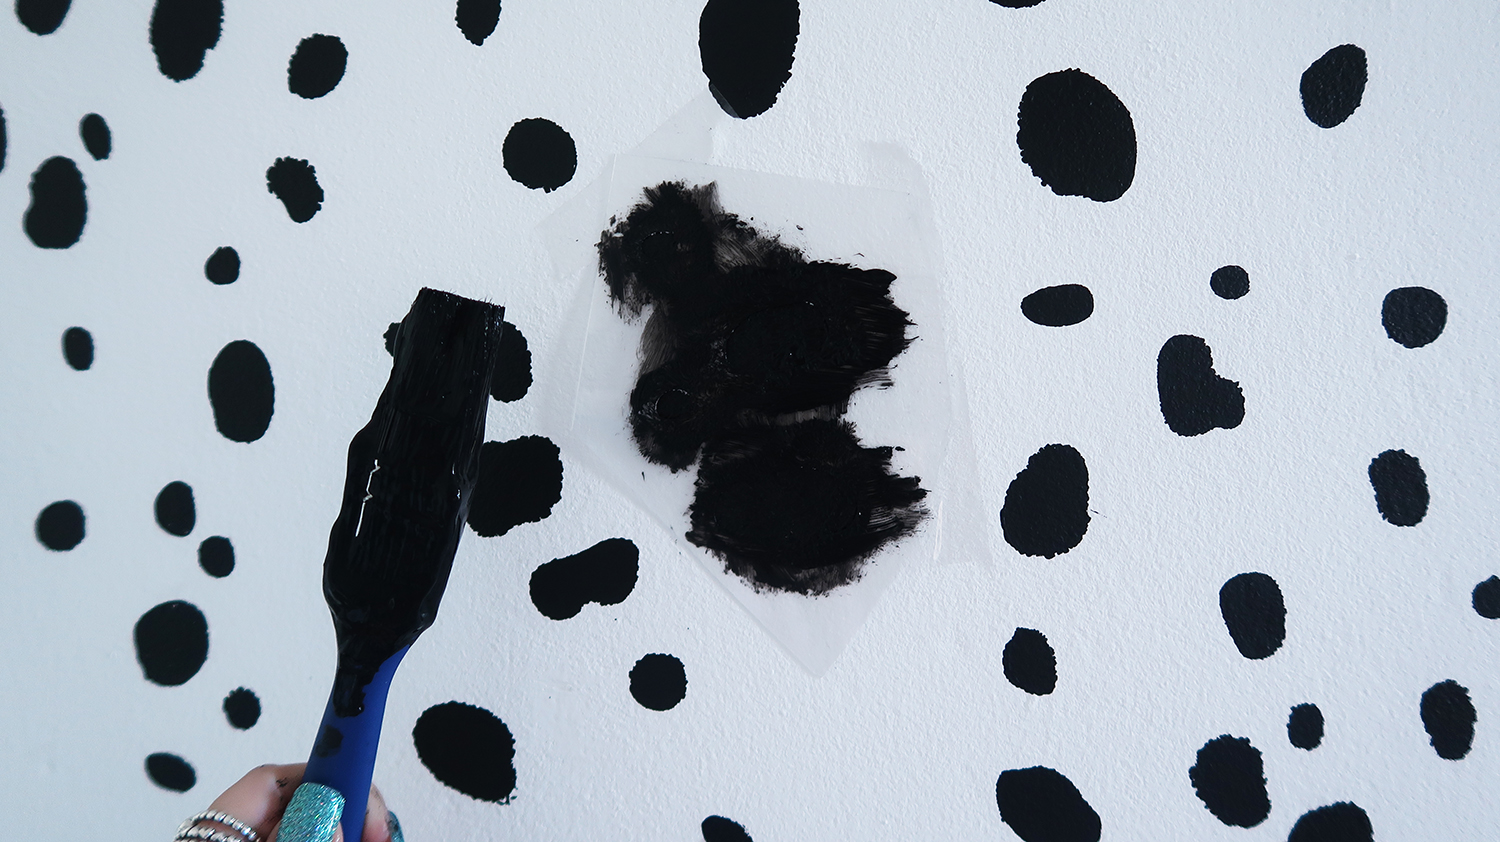
The stencil arrived after a few weeks, as I ordered it from the US and I was raring to go. I popped down to my local Range to buy some black wall paint, a roller and a paint brush and prepped the room ready to paint. Our walls were already white thank god, so it made it much easier for me; it meant I could go straight into stencilling. I used sellotape to hold the stencil on the wall and I used a roller to apply the paint. I found it a little difficult as the stencil would lift up when you pulled the roller away, so I had to be very careful. Some of the spots leaked a little but I think I got away with it. The stencil was pretty big so it meant I could do large areas at once. However it was difficult to get the stencil close to the part I had done previously as it was still wet, so throughout the process I ended up with lots of gaps. Once I had done all I could with the large stencil, I cleaned it and cut it up into smaller ones to fill in the gaps; I used a paint brush for this, as it was a lot easier than the roller.
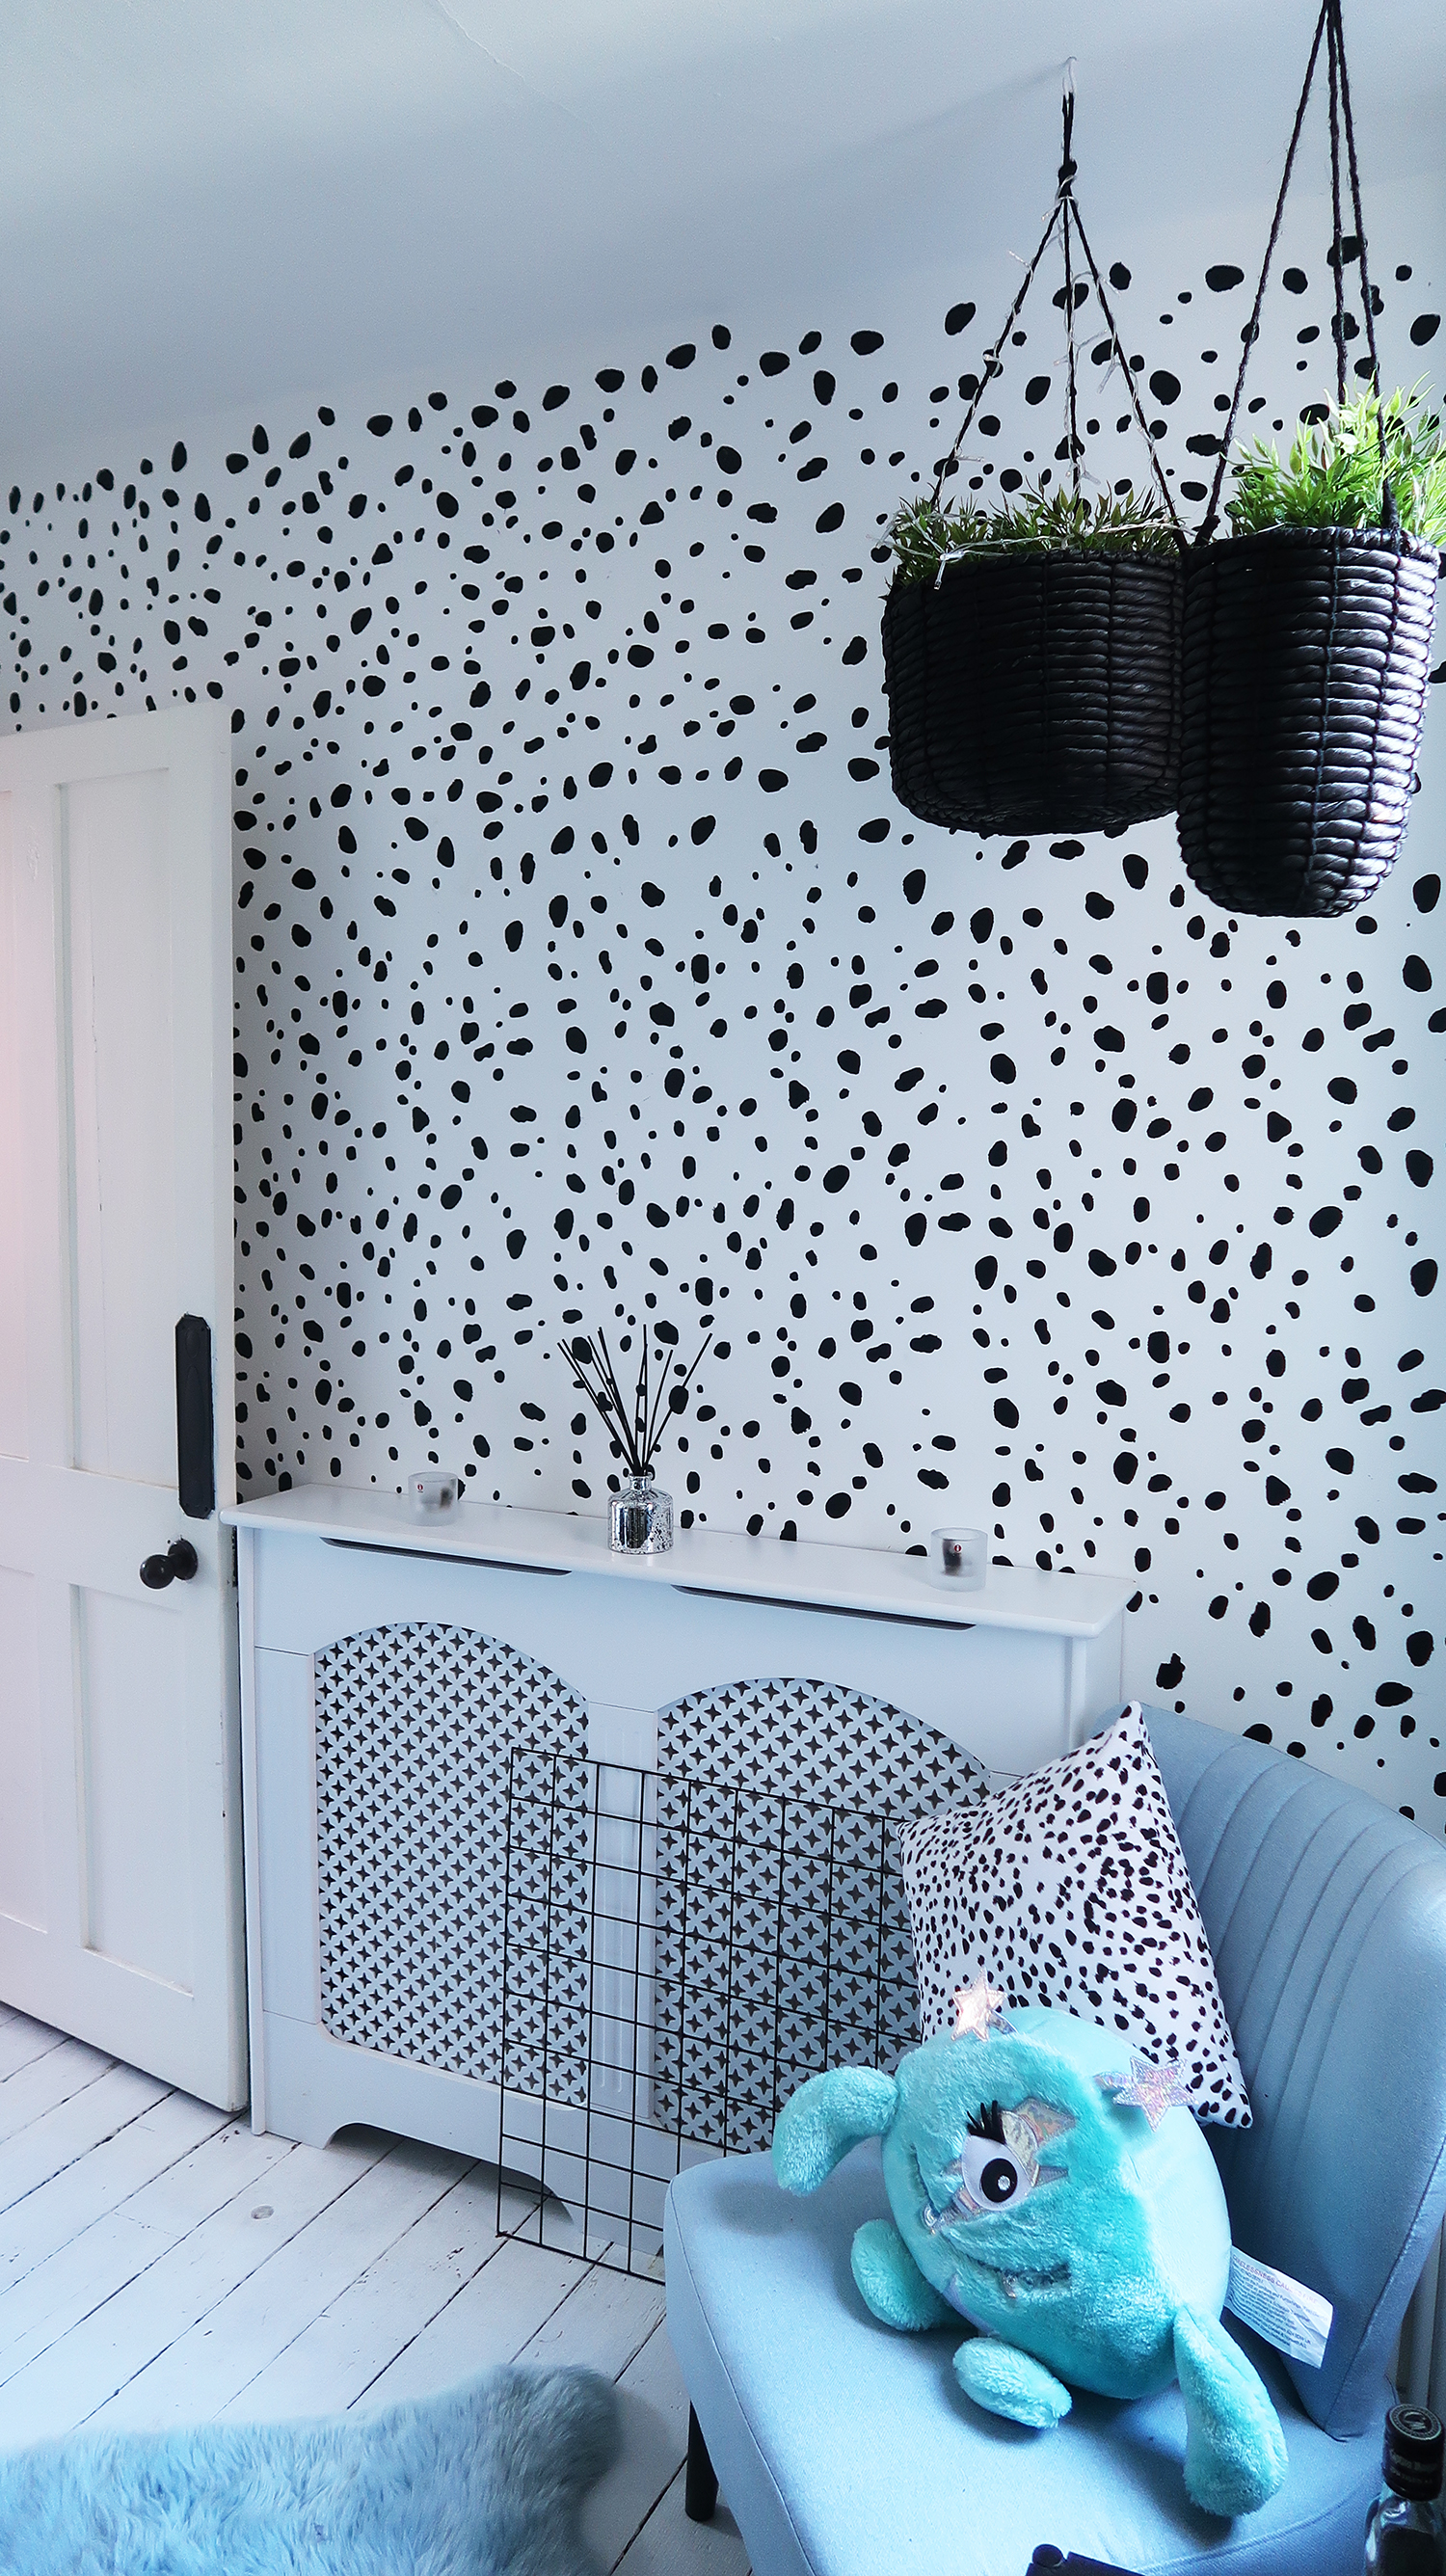
All in all it took me around 4-5 hours to achieve the dalmatian wall, but it was SO worth it! I am so happy with how it looks. I popped my white radiator cover against the wall, matched the print to a cute cushion and voila! What do you all think?
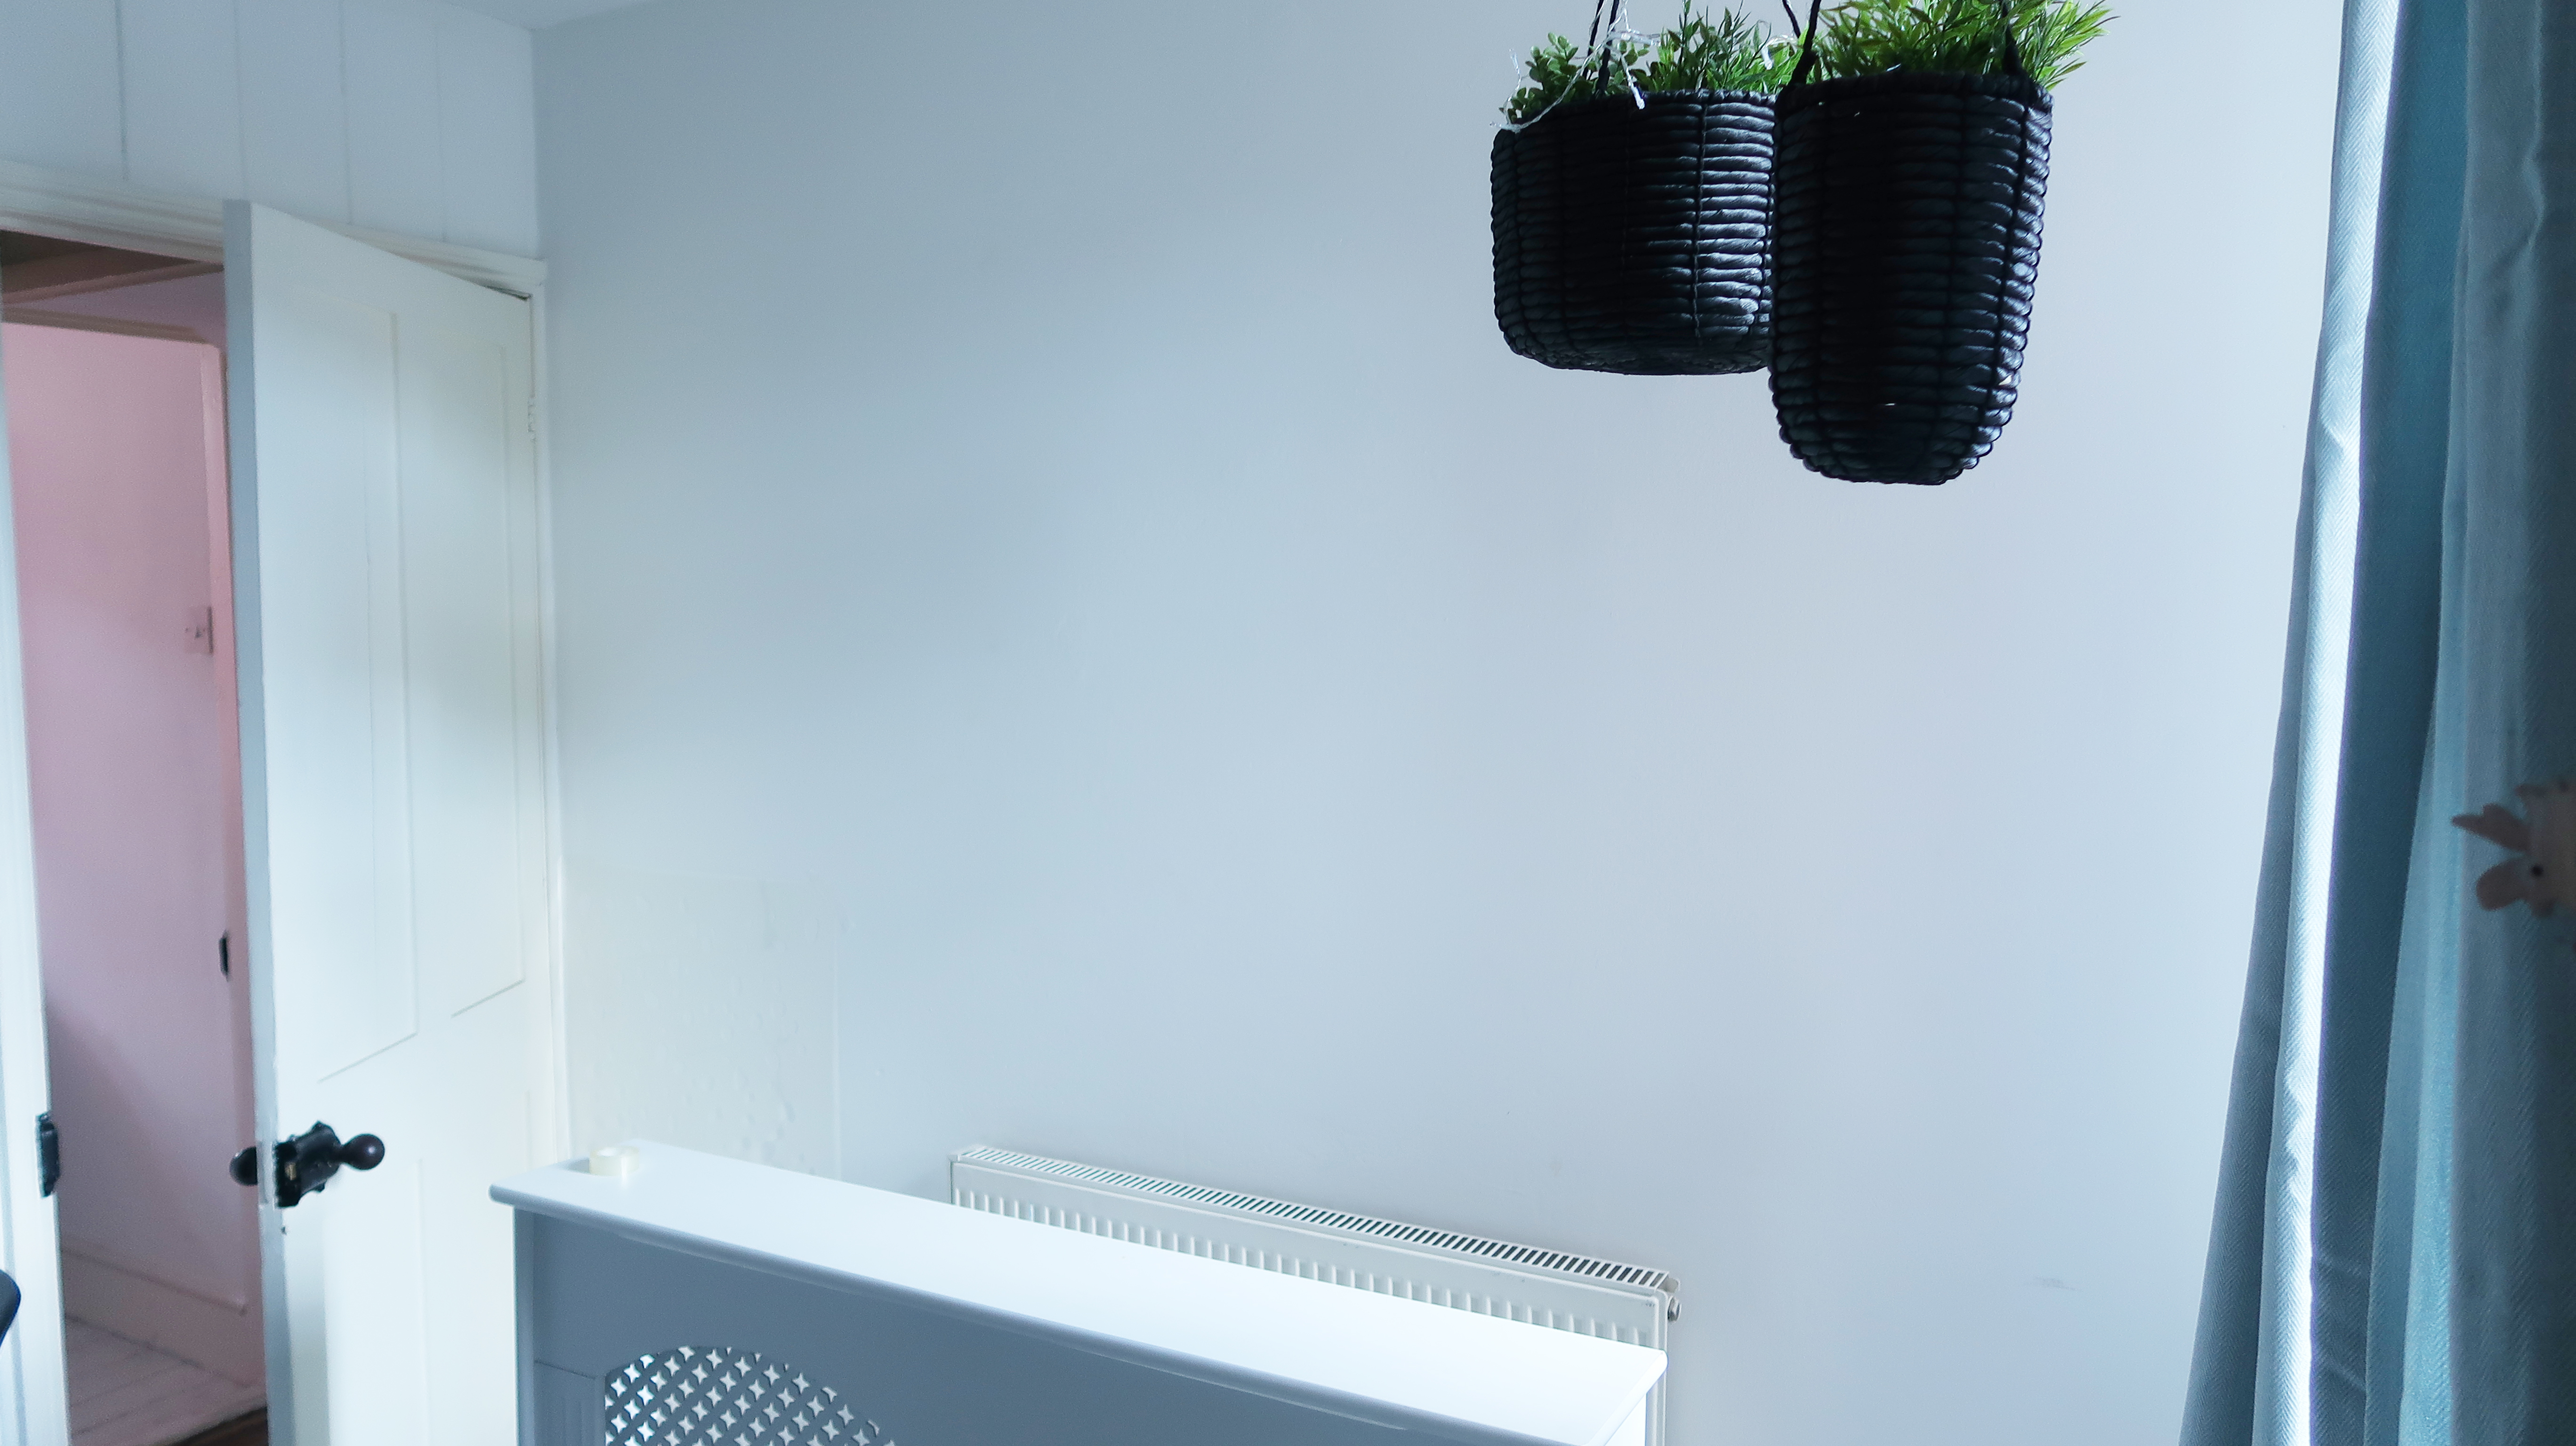
BEFORE
AFTER
Peace
x
Bloglovin | Twitter | Facebook | Instagram | Youtube | Pinterest