Another DIY I created for my big day were my wedding chandeliers. I’m genuinely surprised at how well they turned out and by how many compliments they received. I’m pretty awful at DIY and crafts, but somehow, with a little help from Robin and his sister, I managed to pull off some pretty decent wedding chandeliers.
During wedding planning and doing a spot of pinning on Pinterest, I kept stumbling upon photographs of beautiful chandeliers and plants hanging from the ceilings of people’s wedding venues; and I just fell in love. It was something I really wanted to try and add into my barn venue, so I started looking at figuring out what type of wedding chandelier I would want. The barn was very brown, obviously being made out of wood, so I decided that I wanted my wedding chandeliers to inject colour into the room.
That’s when I found the most amazing idea on Pinterest, a DIY pajaki planter chandelier. It was so colourful and I could instantly imagine it in my wedding venue. So I started looking into everything I needed to create something similar and nipped to Hobby Craft. The main bulk of the chandelier was the colourful pom poms, so I purchased wool in my pastel wedding colour palette and began making them at home. I used the easy Hobby Craft pom pom maker and used the largest circle. This was a lengthy job! I spent weeks making pom poms every moment I had a spare evening or few hours. Once I felt I had made enough pom poms, I moved onto tassels.
I got so bored of making pom poms and tassels after a few weeks, so I eventually gave up. I left the wedding chandeliers and thought I’d have a break from them and return to making them in a few weeks time. Well, me being me, I left them until a few weeks before the wedding! It got to the point where I started to panic about whether I’d have enough time to make them or not. The DIY pajaki planter blog I was trying to follow meant having to papier mache and it looked like a very messy job. It wasn’t like I was making one of them. I wanted to make six!
So I decided to change my design to something simpler. I went back to Pinterest and found some gorgeous hoop, flower/ivy chandeliers and thought I’d combine that with my already made pom poms. I felt slightly more confident about them at this point, so I pushed myself to purchase everything I needed to actually make them.
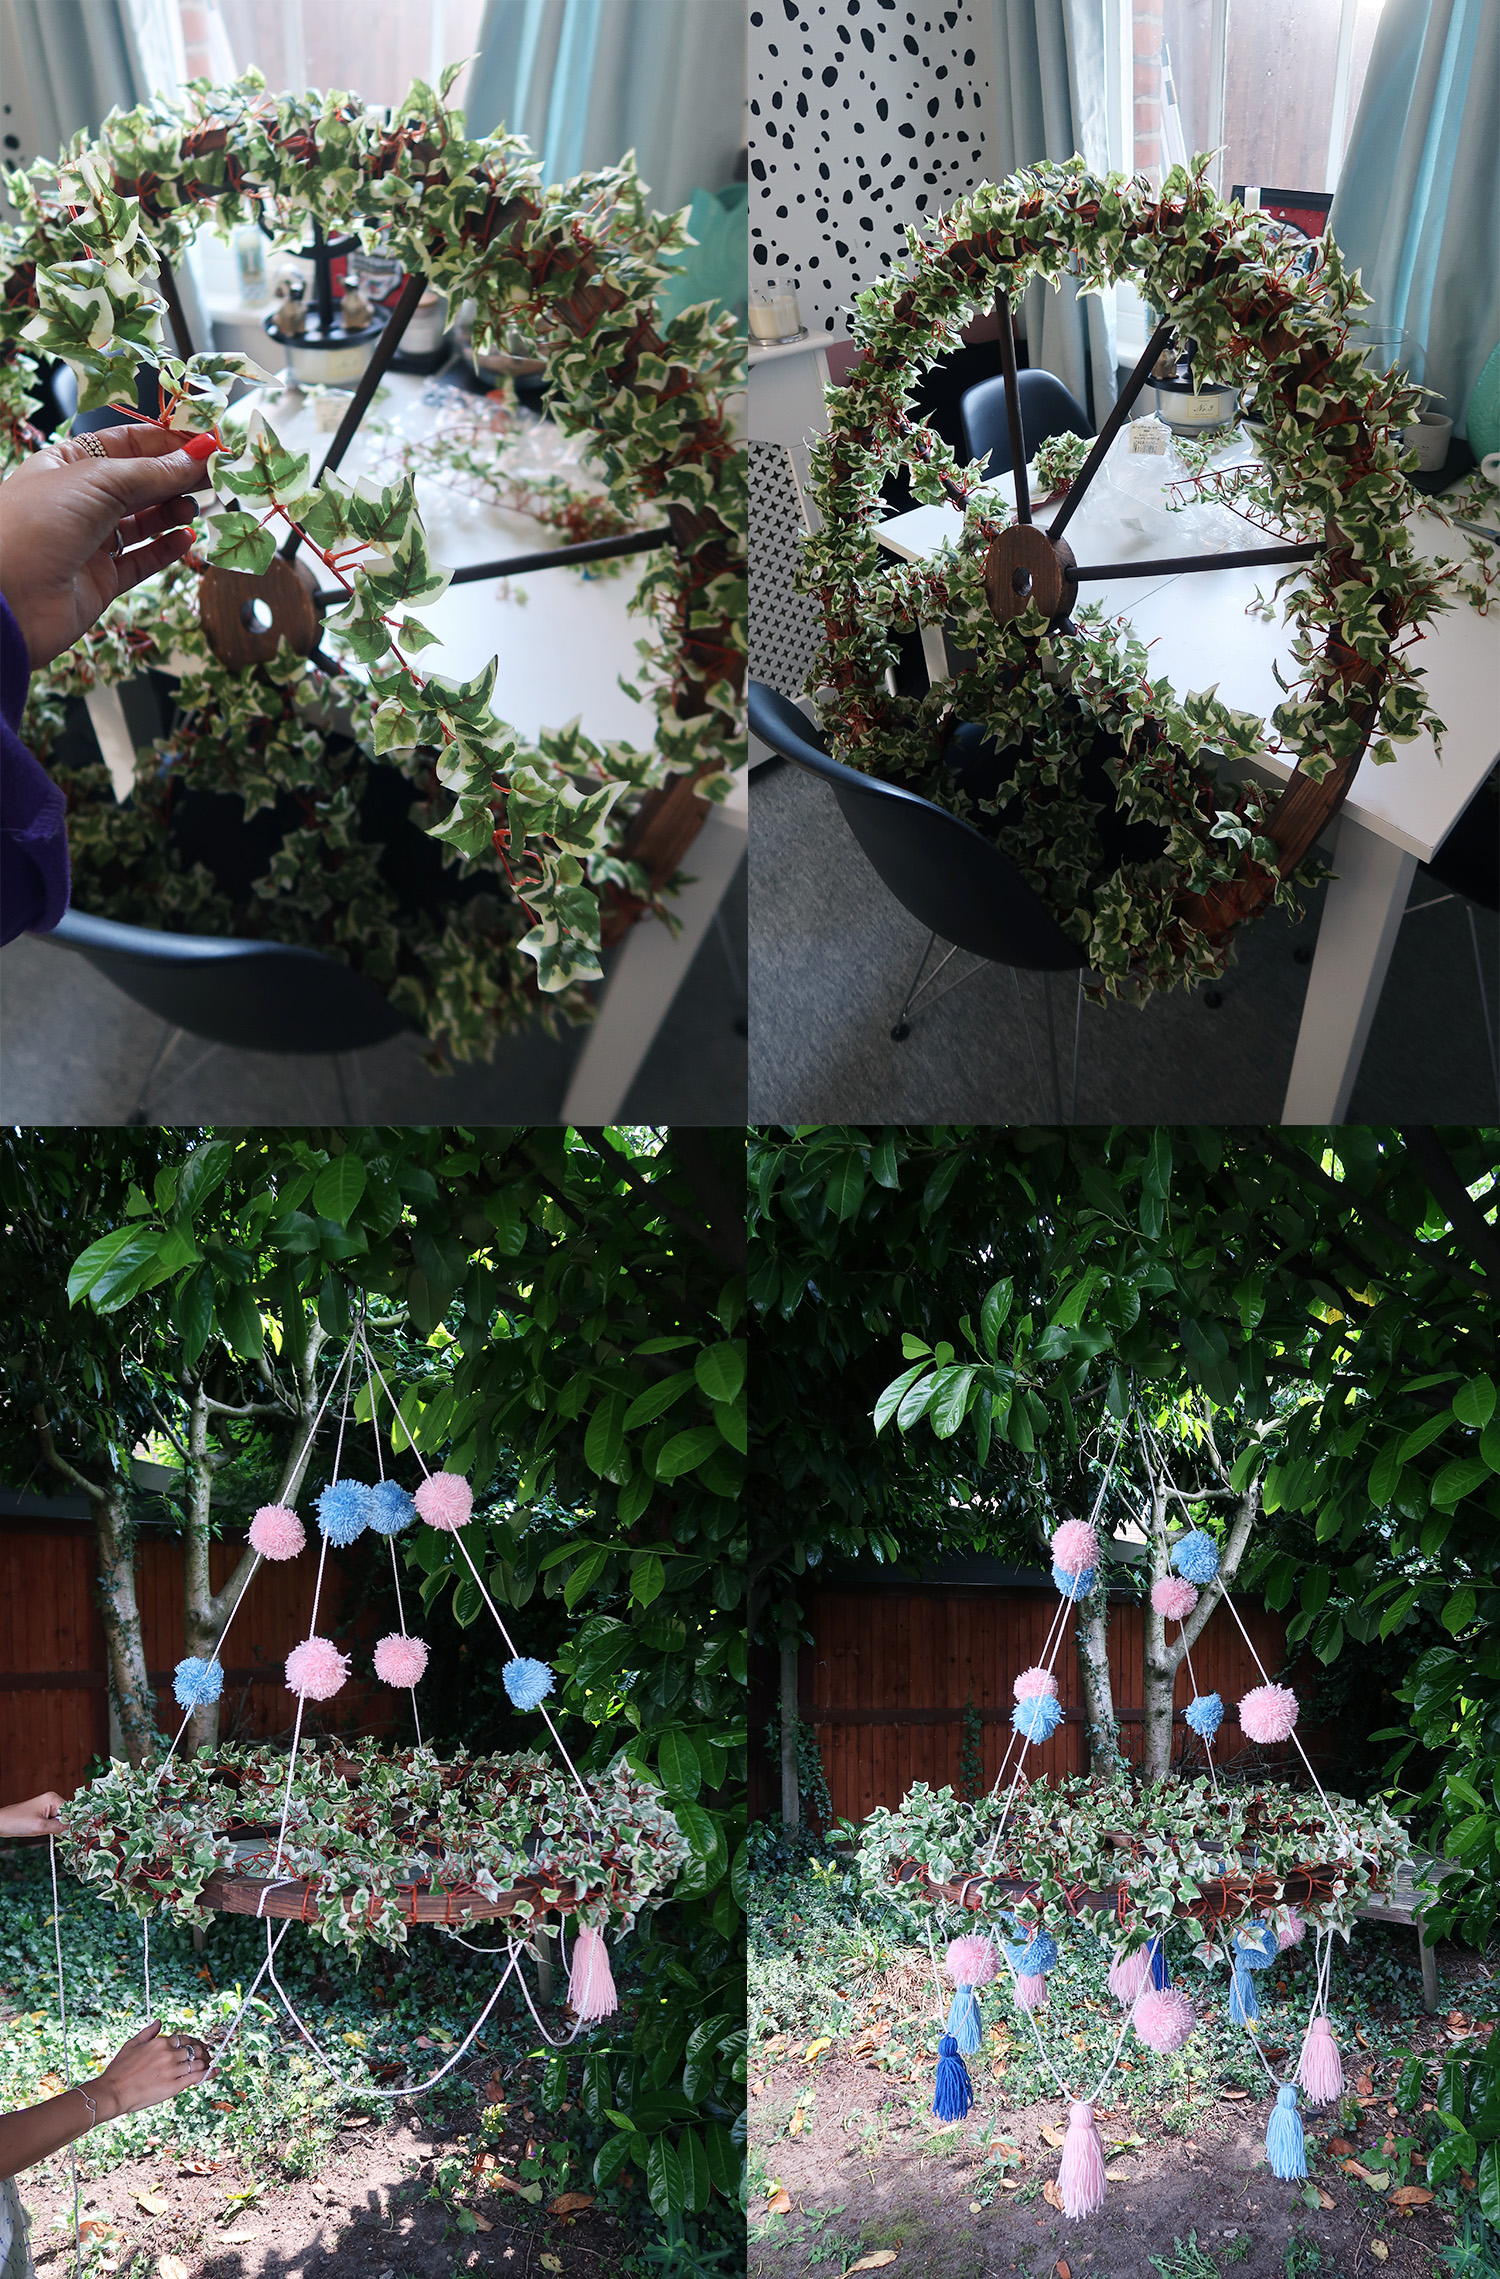
At first I was going to buy giant hula hoops, but they were oddly quite expensive. So I thought, hey let’s try B&M Home Bargains and see if they’ve got anything ring shape that I could use. I had a bit of luck because I found these rustic, brown wheels; so random I know, I think they were garden decor? They had quite a few in stock so I purchase six of them. They were only £10 each, so not too pricey, and they felt like a good stable base to build my wedding chandeliers from.
I then had the idea of wrapping ivy around the wheel to add some greenery into the chandelier. I wanted to use real ivy, but luckily we did an ivy test before building them as the ivy only lasted 2 days. So instead, I went to the Range and purchased a load of faux ivy. I cut this up and wrapped it around the wheel, which was pretty easy to do. It was useful that the ivy had wire in it, so it made tying it onto the wheel easy. I was actually really happy with how it looked and it only had ivy on it at this point.
I purchased ivory string from Wickes for the top and bottom of the chandelier; the parts I was going to be attaching the pom poms and tassels to. And then also from Wickes I bought some heavy duty rope in blue, to match my theme of course; this was going to help suspend the chandeliers from the ceiling and 6 metal clips.
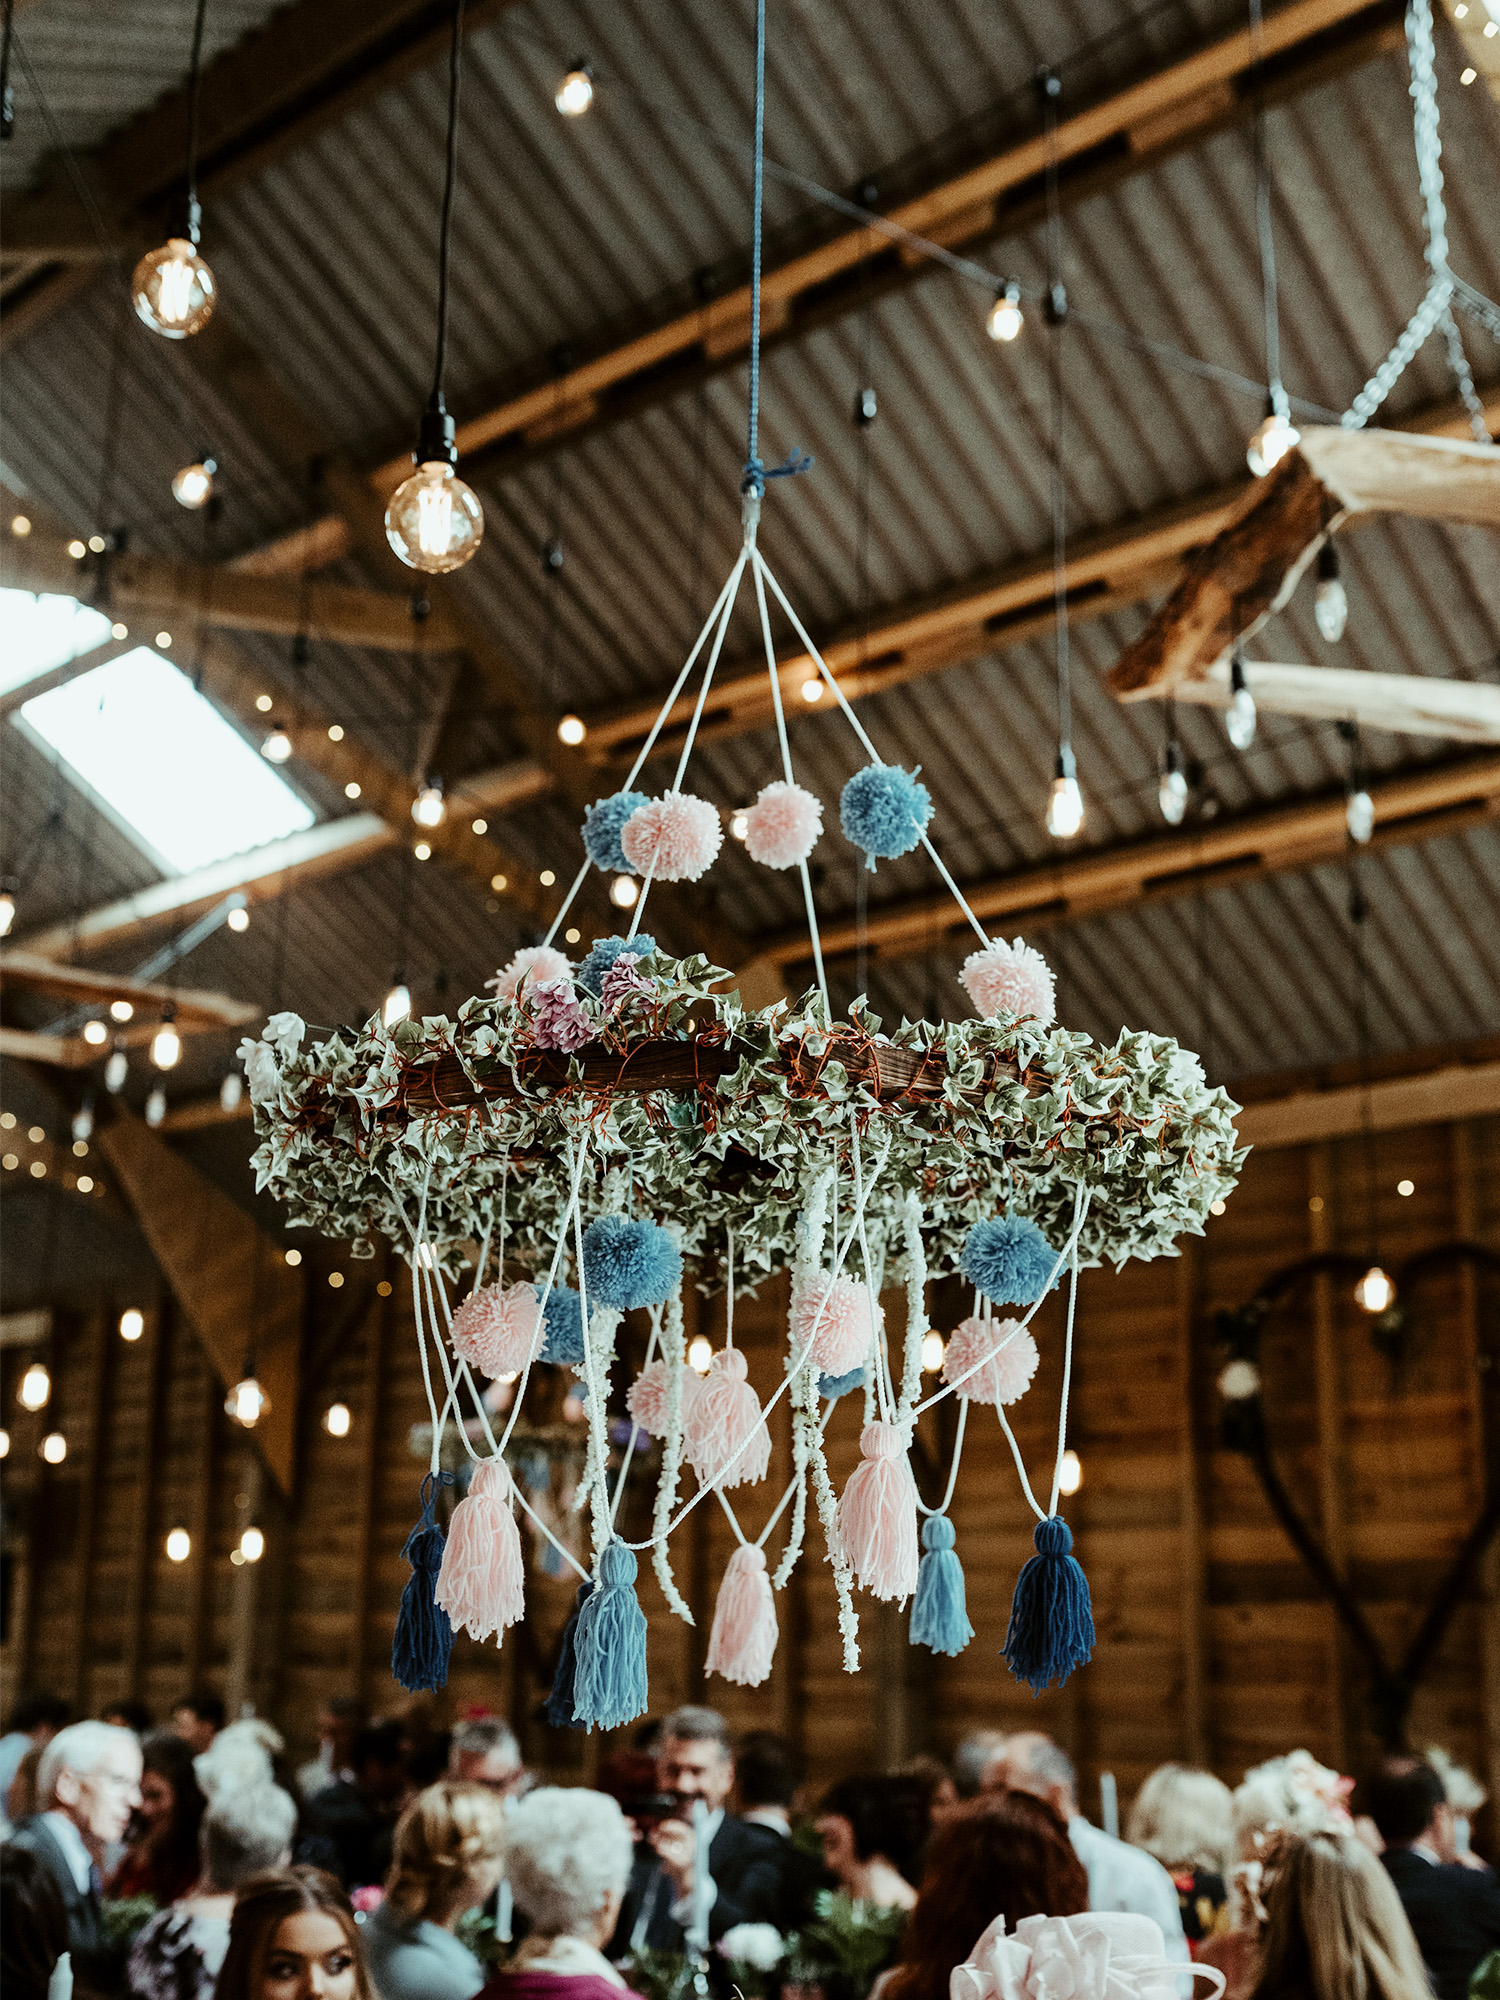
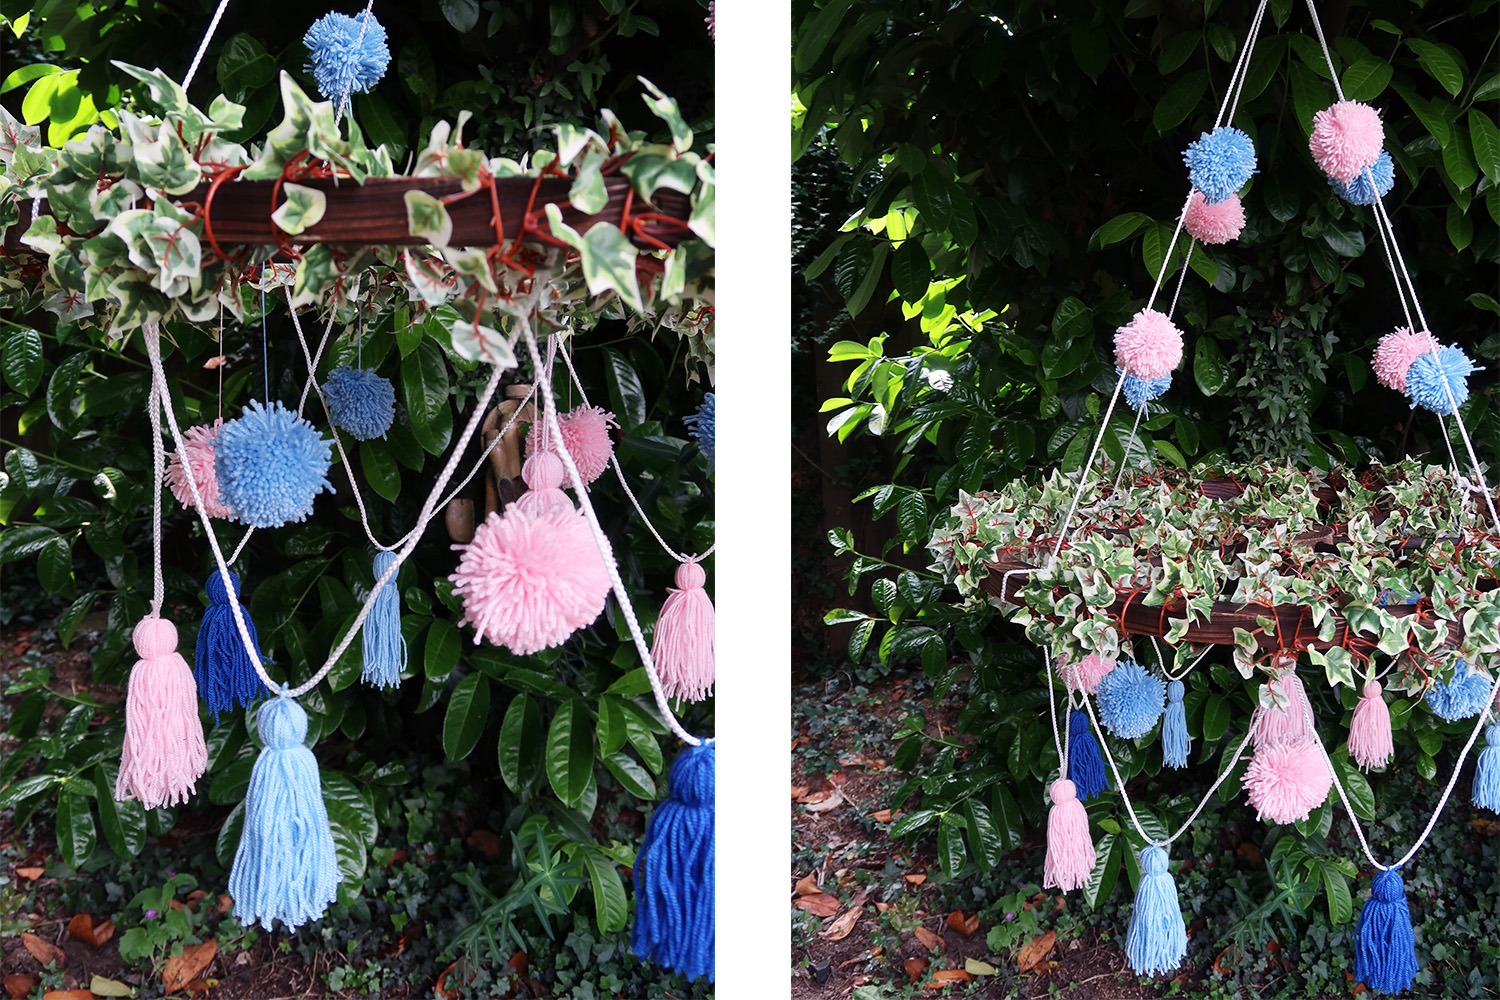
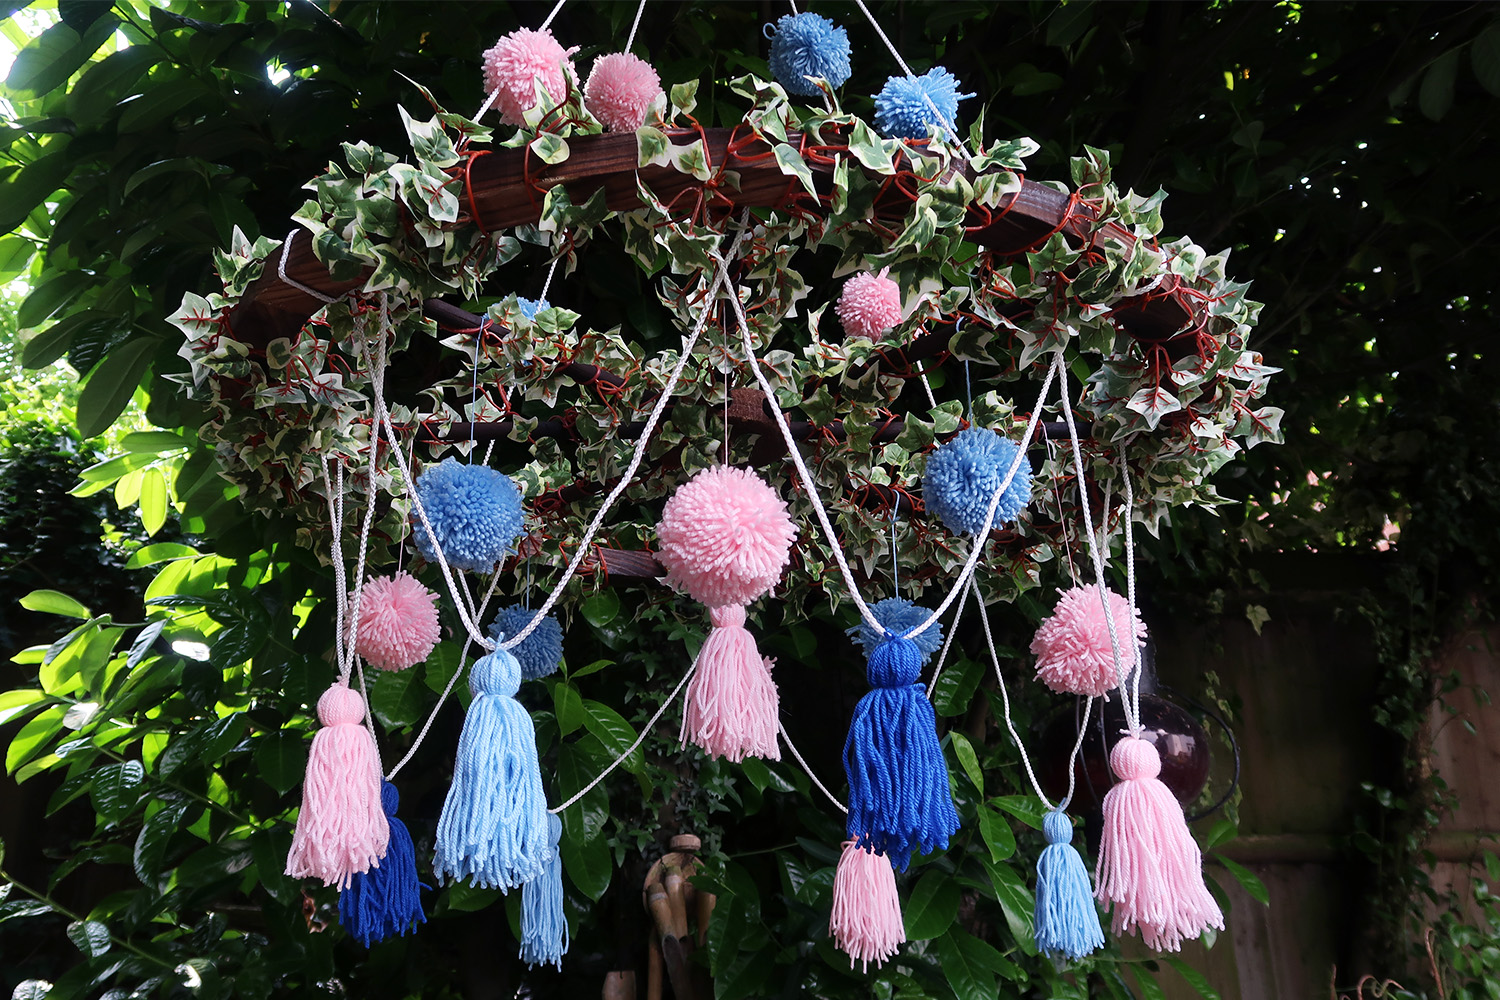
It was time to get DIY’ing! I had Robin and his sister on hand to help and we started by cutting string and creating the four pieces at the top which all attached to the clip. We then hung the chandelier off a tree branch to assist us with creating the rest of it. We created scallop loops around the underneath of the wheel by looping it around each spoke and then attached pom poms to the string at the top, tassels to the loops and more pom poms on the spokes. It was all taking shape and I was getting so excited that my DIY idea was now going to plan.
Robin’s sister had some spare faux white flowers which we also attached to the chandelier and we were pretty much done and happy with how it looked. Once we made one, the rest were super easy as we knew exactly how to make it and where to place the pom poms and tassels. I’d say it took about a day to make them all.
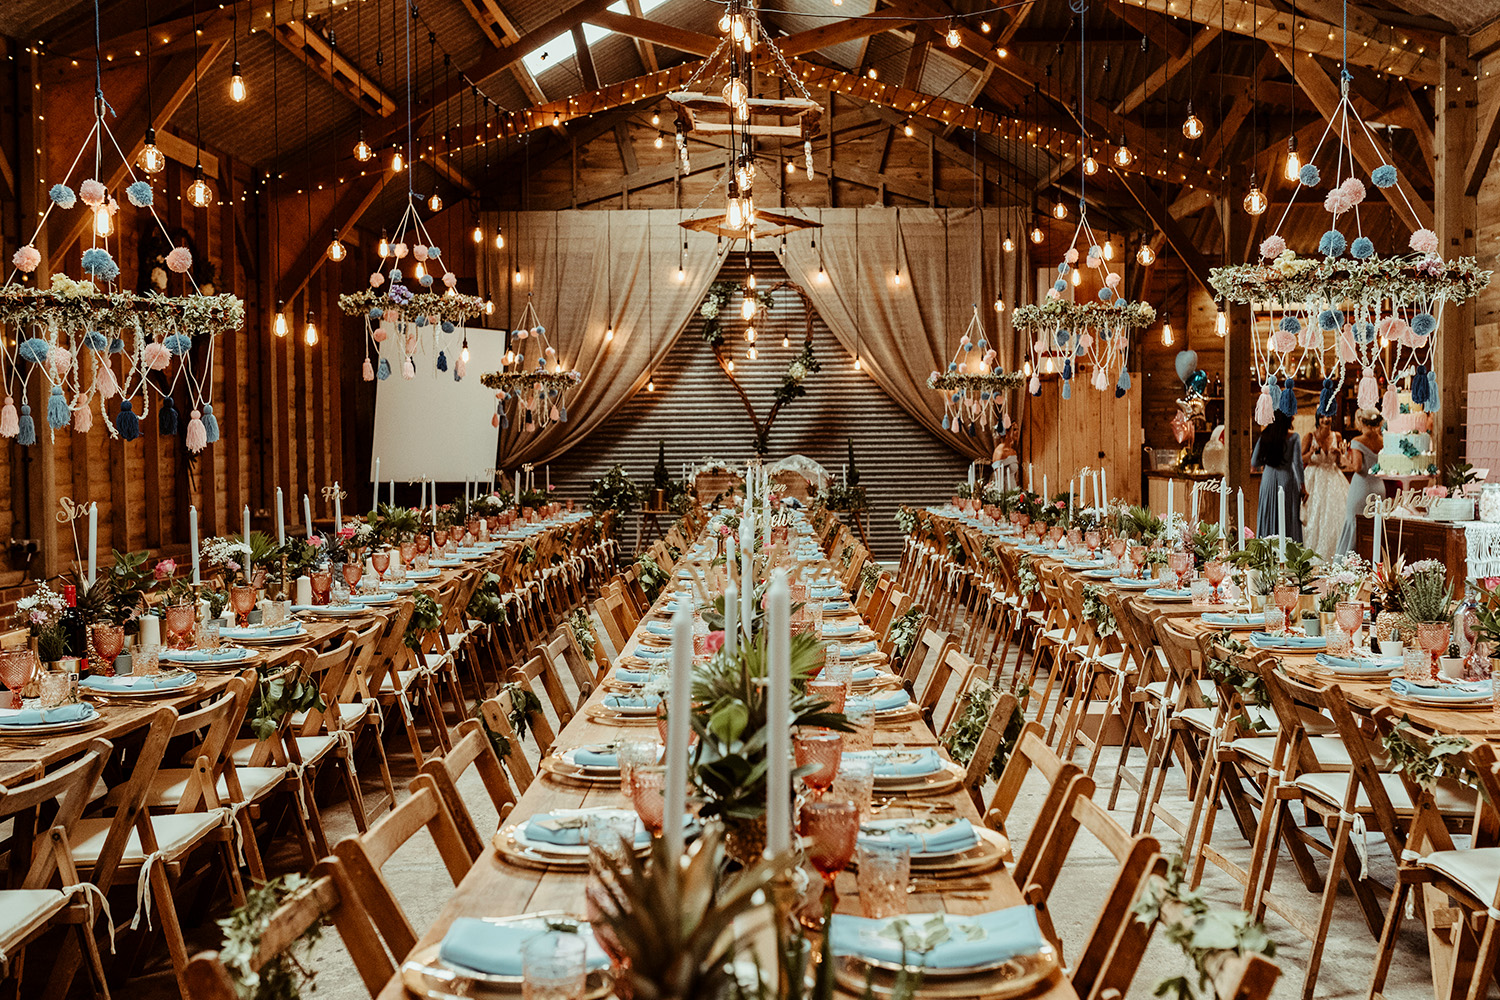
I was allowed to the wedding venue the night before we set up to hang them and I was so so pleased when I saw them all suspended from the ceiling. It wasn’t what I had originally wanted, but it worked and it looked beautiful and like a wedding. Cost wise, it worked out to be £60 a chandelier after purchasing everything, which wasn’t too bad. What do you all think of this wedding DIY?
If you want to read more about my wedding, click here.
Sophie
x
Twitter | Facebook | Instagram | Youtube | Pinterest