As you may know I recently completed on a new home which is in need of a bit of renovation. We're very slowly getting work done, room by room, and the first room we've been focusing on is the living room.
We've always dreamed of having a big living room. Somewhere we can relax of an evening, pop the tele on and chill with our dogs. In our current 2 bed terrace house, it's just not possible to do this. Our sofa barely fits Robin on it! It's been fine for the past few years but when it came to decorating our living room in our new house we knew we wanted a huge, comfy sofa.
Picking a sofa was easy. I don't know why but I've had a thing for orange sofas for a while now and when I set my eyes on this one from Made, I knew it had to be ours. We ordered it ages ago and have been storing it in our storage unit ever since. Well until recently.
The living room walls have been painted and flooring put down, which meant it was time to get the sofa in.
We hired a van for a few hours to transfer the sofa from our storage unit to the new house. It was a struggle with just Robin and I as I wasn't strong enough, but we slowly got there. We managed to get the sofa through the front door and into the hallway and it sort of ended there.
After a few tries of trying to manoeuvre the sofa through the living room door, we realised it wasn't going to fit. The sofa was just too long. We had a slightly panic, but Robin's family came to the rescue as they found themselves in a similar situation when they tried to put a new sofa into their living room. The only way it was going in, was if it was in parts. It was time to dismantle the sofa.
We started by turning the sofa on its back and pulling out the staples from the fabric cover, hiding the frame. We just used a small screwdriver for this. We tried to save the staples, but it was too difficult so we ripped them out and disposed of them. If you see above, you can see we revealed the frame of the arms and seat section. Depending on your sofa, you might only need to reveal the frames of the arms. Some sofas are attached together in sections: arms are separate to middle section or the seat section comes apart.
We realised our seat section came apart, so we found the nuts, bolts and screws holding it together and took them out, remembering to put them aside somewhere safe.
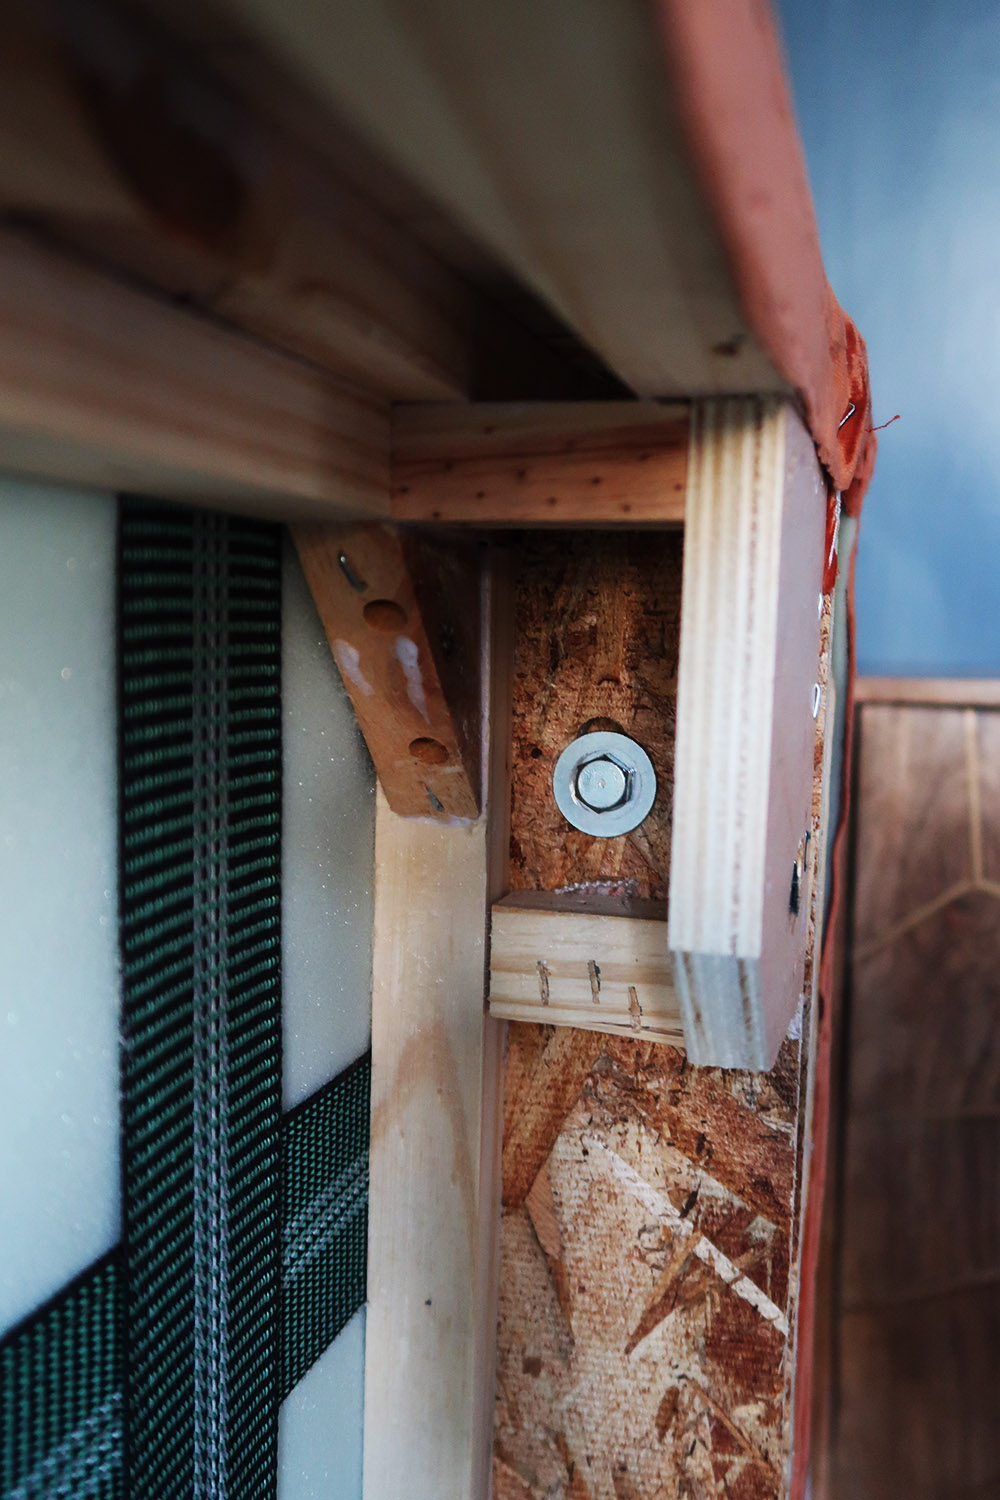
We found 5 nuts and bolts, 2 either side and 1 in the centre. Once these were undone, the seat section just lifted out. It was actually super easy, you just needed a Draper Socket set to do it, which luckily Robin's dad had.
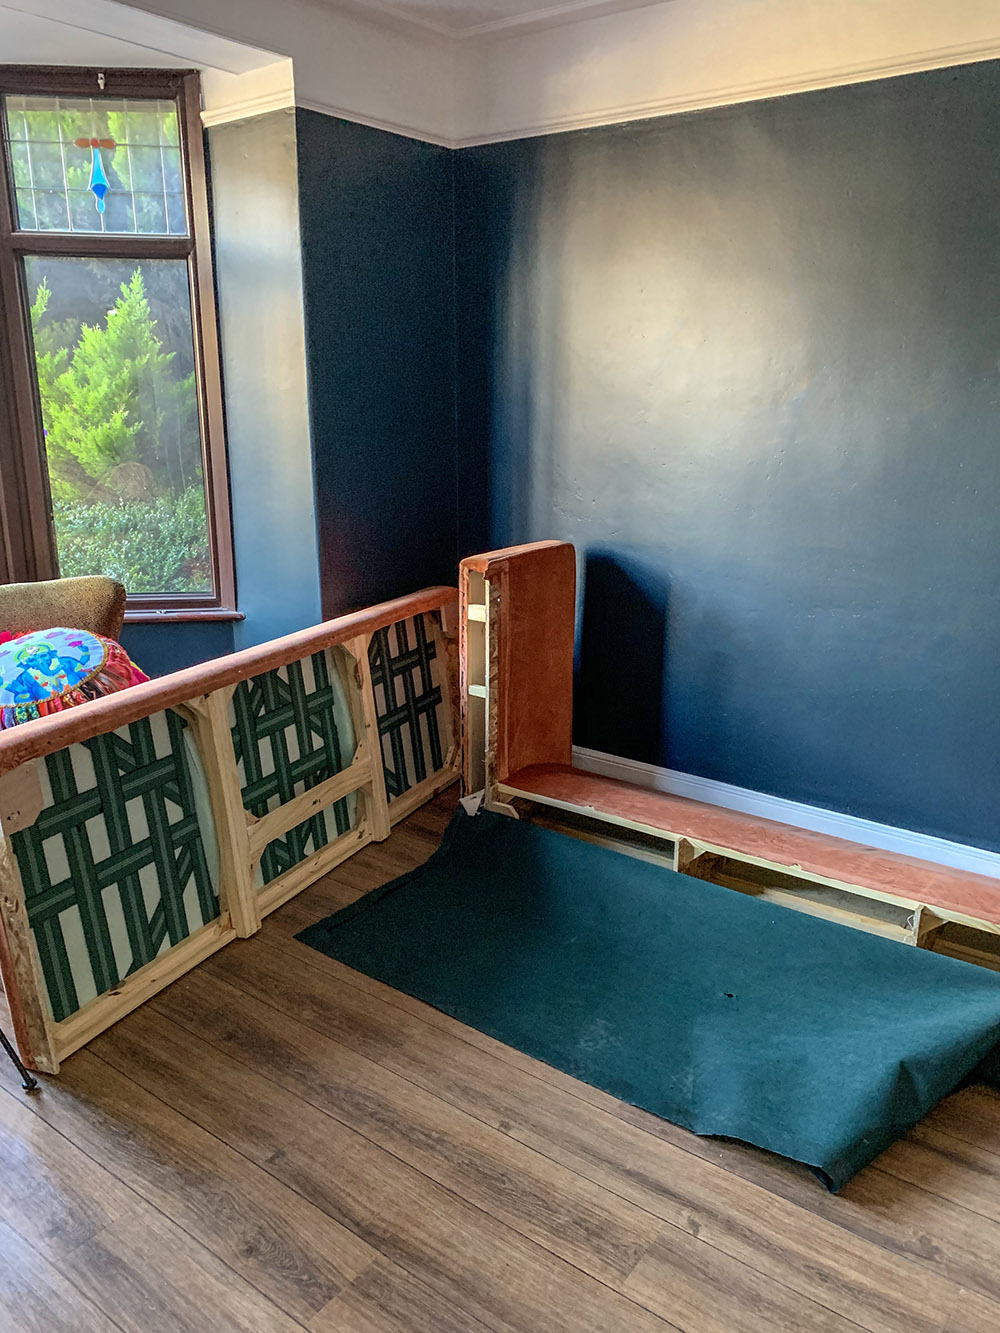
Once the sofa was in 2 parts, it was time to attempt at manoeuvring it again. It was a tense moment, but it fitted! With the main frame of the sofa now missing that seat section, it meant we could bend it round the living room
doorway to get it into the room.
Now it time to put it all back together. With the sofa on it's back again, we slotted the seat section back into place, followed by using the Draper Socket to secure the nuts and bolts back into place.
Once all the nuts and bolts were back into place, we pulled the fabric up to cover the frame and held into place whilst we screwed the legs in.
It was onto the final step. Stapling the fabric covering the frame back together. We got the staple gun from Wickes and it was great. We needed a gun that had enough powder to staple through wood, and it did.
We began stapling at the edges first, then the centre and then filling in the gaps. It didn't take too long and it was looking like we'd never taken it a part.
Once we were happy with the fabric being secure, we made sure the legs were tight and we lifted the sofa into place. And voila!
I'm so happy that we managed to get it into our living room without having to take the windows out, a much easier job I think!
I hope this post was super helpful! If you want to follow my renovation journey make sure to follow: @sophiehannahhome on Instagram. Or check out the rest of my home posts here.
